cPanel:Exim Config
Please follow these instructions to configure cPanel to use SocketLabs to send your messages
- Login to your cPanel & WHM Admin Panel as Administrator.
Go to Home >> Service Configuration >> Exim Configuration Manager. - Click on Advanced Editor.
- Navigate to Section: AUTH.
Add below lines of code:
begin authenticators

socketlabs_login:
driver = plaintext
public_name = LOGIN
client_send = : USERNAME : PASSWORD
Only add begin authenticators if it's not already in the configuration file.
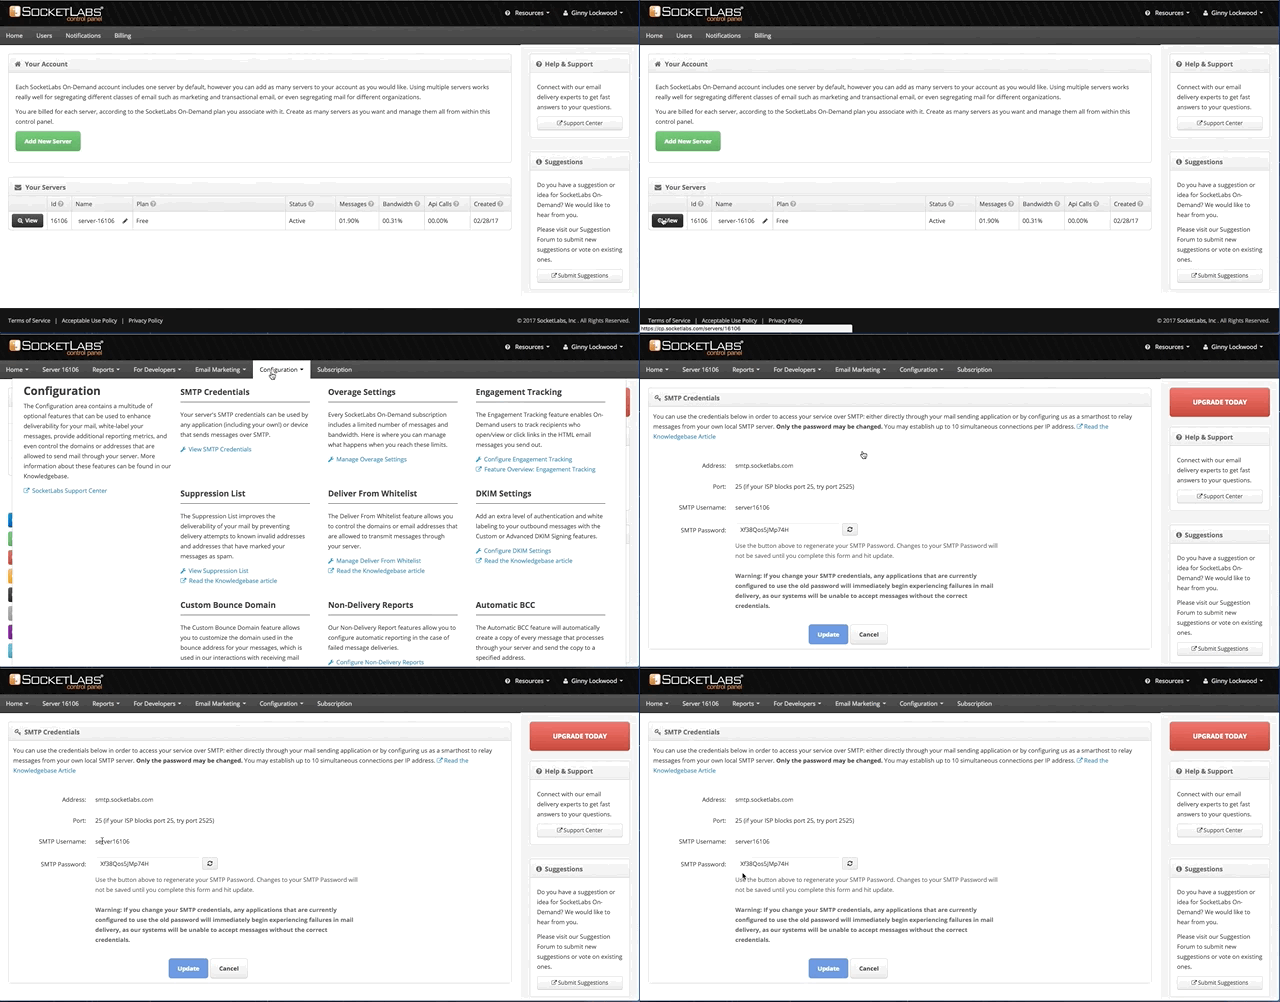
The USERNAME and PASSWORD should be changed to the SocketLabs SMTP username and SMTP password. Both of these credentials are available in the Control Panel of your SocketLabs server, found in the Configuration dropdown of the menu bar under SMTP Credentials.
Add below lines of code:
send_via_socketlabs:5. Navigate to Section: TRANSPORTSTART.
driver = manualroute
domains = ! +local_domains
senders = *@<Yourdomainhere>
transport = socketlabs_smtp
route_list = “* smtp.socketlabs.com::2525 byname”
host_find_failed = defer
no_more
Add below lines of code:
socketlabs_smtp:6. Click the Save button.
driver = smtp
hosts = smtp.socketlabs.com
hosts_require_auth = smtp.socketlabs.com
This will restart exim. If exim does not restart, then restart it manually from server’s command line as below:
/etc/init.d/exim restart
Please Note!
The default installation of cPanel & WHM with Exim accepts emails sent to it, regardless of whether or not the recipient address exists, and then generates it's own bounce error messages back to the address. Automated response processes like this lead to problems with sending out backscatter spam.
To prevent such issues, select the option Discard the email while your server processes it by SMTP time with an error message under cPanel >> EMAIL >> Default Address. Finally click the Change button. Make sure that you have installed at least version 60 of cPanel & WHM, to ensure it works.

