
1. On the left side of the home screen, click Messages.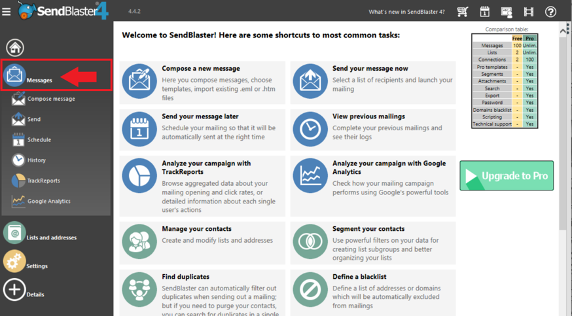
2. Under Messages, click on Send.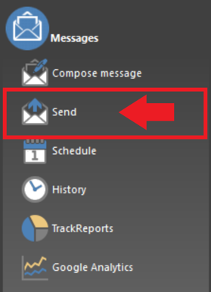
3. Scroll down to Send settings and select use SMTP server.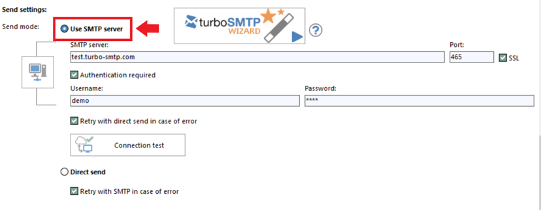
4. Log into your SMTP account to acquire your SMTP credentials. If you need a SMTP Server then you can pick up a trial account with SocketLabs here. The credentials are available in the Control Panel of your SocketLabs server, found in the Configuration dropdown of the menu bar under SMTP Credentials.
5. Enter smtp.socketlabs.com into the SMTP Server
a. If you would like to use SSL, enter port 465 and check the SSL option.
b. If you cannot use SSL, uncheck the option and use port 2525, 25, or 587.
6. Select the “Authentication required” field.
7. Plug in your SMTP server, username, password and port. This is how your SMTP screen will look inside of Sendblaster: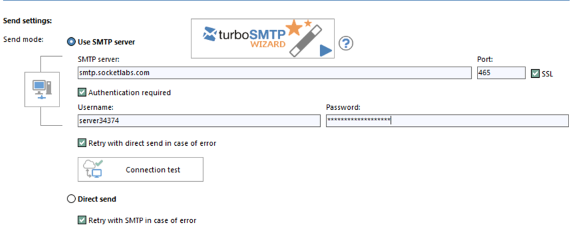
8. Once you have filled out all the required information, click on Connection test to set up the connection of your SMTP with Sendblaster.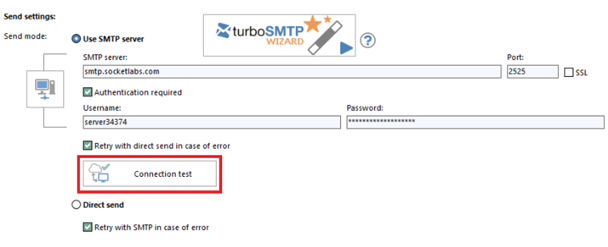
A pop-up with the message “Connection established” will appear after the credentials are verified. This means the connection has been successfully made.
Now that you have integrated SMTP with Sendblaster, you are now ready to create an email list and start sending your bulk email campaign.