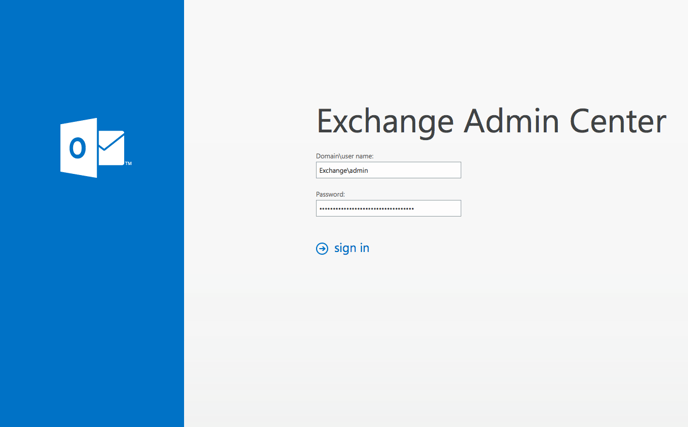
Launch the Exchange Control Panel (ECP) with your browser and login as an administrator.
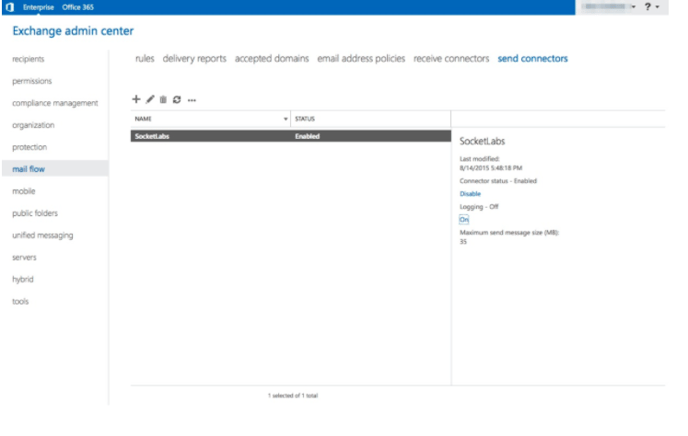
Go to Mail Flow\Send Connectors, and then click + to open the wizard.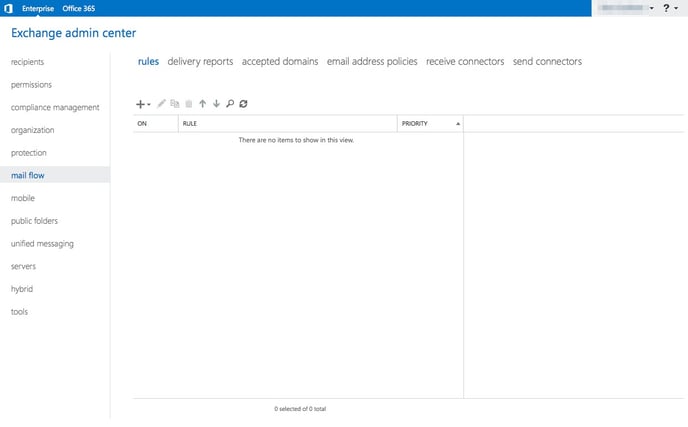
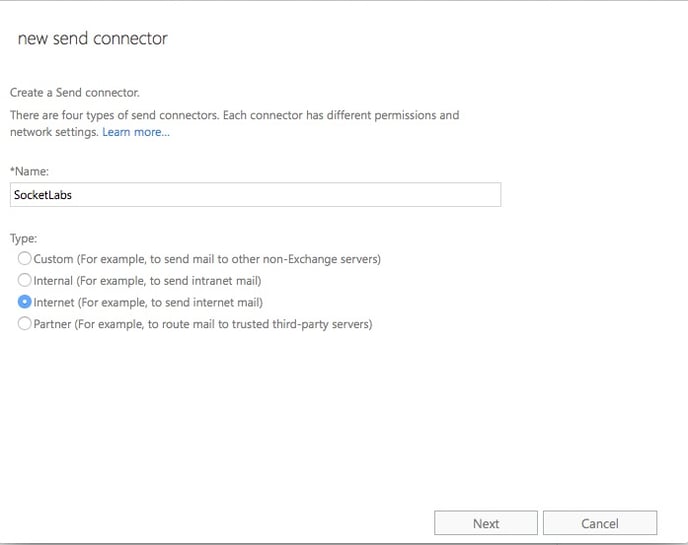
Enter SocketLabs as the Name, select the Internet option from the Type, and click Next
Select Route mail through smart hosts, and then click + to open the Add Smart Host dialog box.
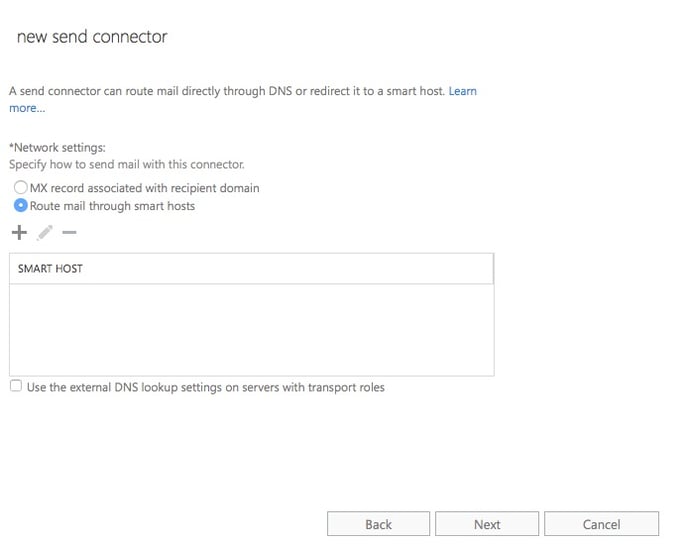
In the Add Smart Host dialog box, enter smtp.socketlabs.com, and then click Save
Click Next
Select Basic Authentication and enter your SocketLabs SMTP Username and Password into the Username and Password fields respectively.
SMTP Username & Password
Your SMTP credentials have been provided for you in the Control panel for your server under the Configuration dropdown> SMTP credentials. Please see the following document if you are having trouble Finding Your SMTP Credentials.

Click Next
Click the + under the Address Space section to open the Add Domain dialog box.
Enter the SMTP into the Type field.
Enter an asterisk (*) into the Domain field.
Enter 1 into the Cost field.
Click Save to exit the Add Domain dialog box.
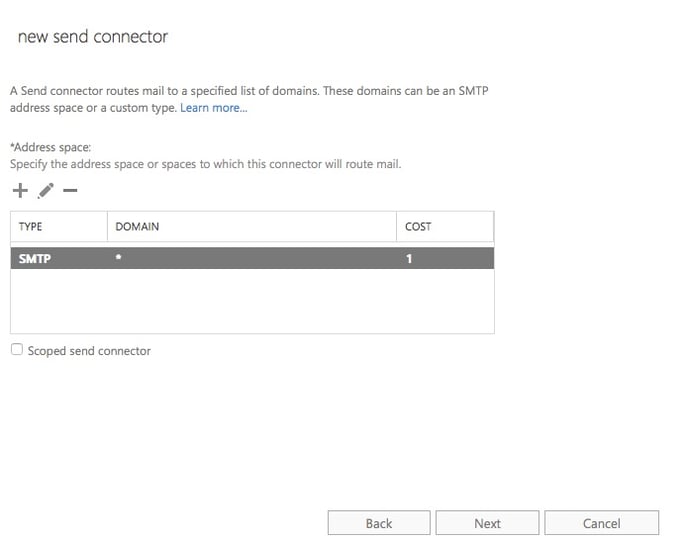
Click Next
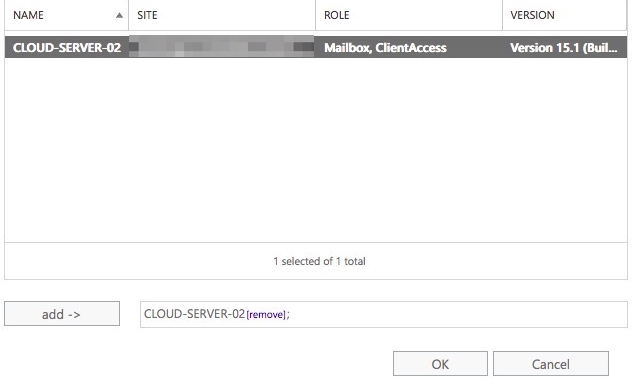
Click the + under Source Server to open the Select a Server dialog box.
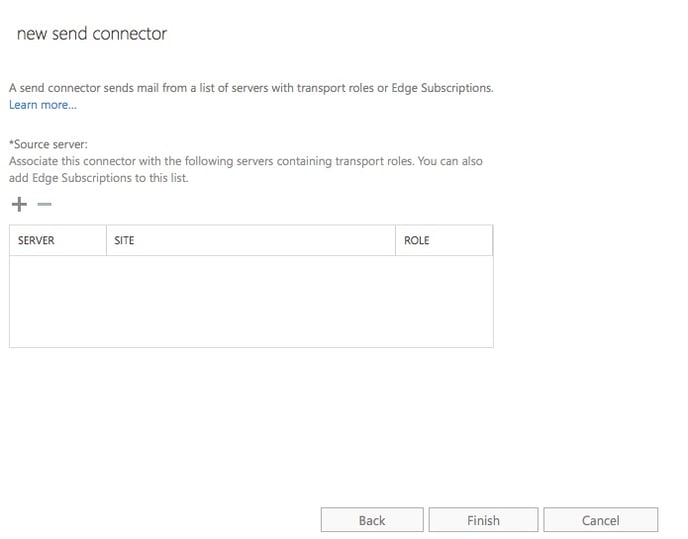
Select at least one mailbox server that you want to use to send outbound mail to SocketLabs.
Click add -> button and then OK.
Click Finish to complete and save the Send Connector configurations.